
This is the dog's basket. Well, it was the cat's, but he decided he'd suit it better and took it for himself. As you can see, he's made a few modifications and these are becoming a little too dangerous to keep it, so I decided I ought to try and see if I could make him a new bed.
First, I drew around the basket, adding a few inches all around to allow for stuffing.

I cut two circles of fabric for the base. This was taken from a pair of old curtains. I have no idea where they came from, but somehow, they were in my stash.
As the fabric was quite stretchy and frayed easily, I machine basted all away around.

Once that was done, I joined enough of my crumb blocks together to form the fabric for the top.

I pinned the basted circle to the crumb blocks, and sewed around leaving a turning gap.

Before turning, I trimmed to size and cut slices toward the seam for easier turning and we were ready for stuffing.
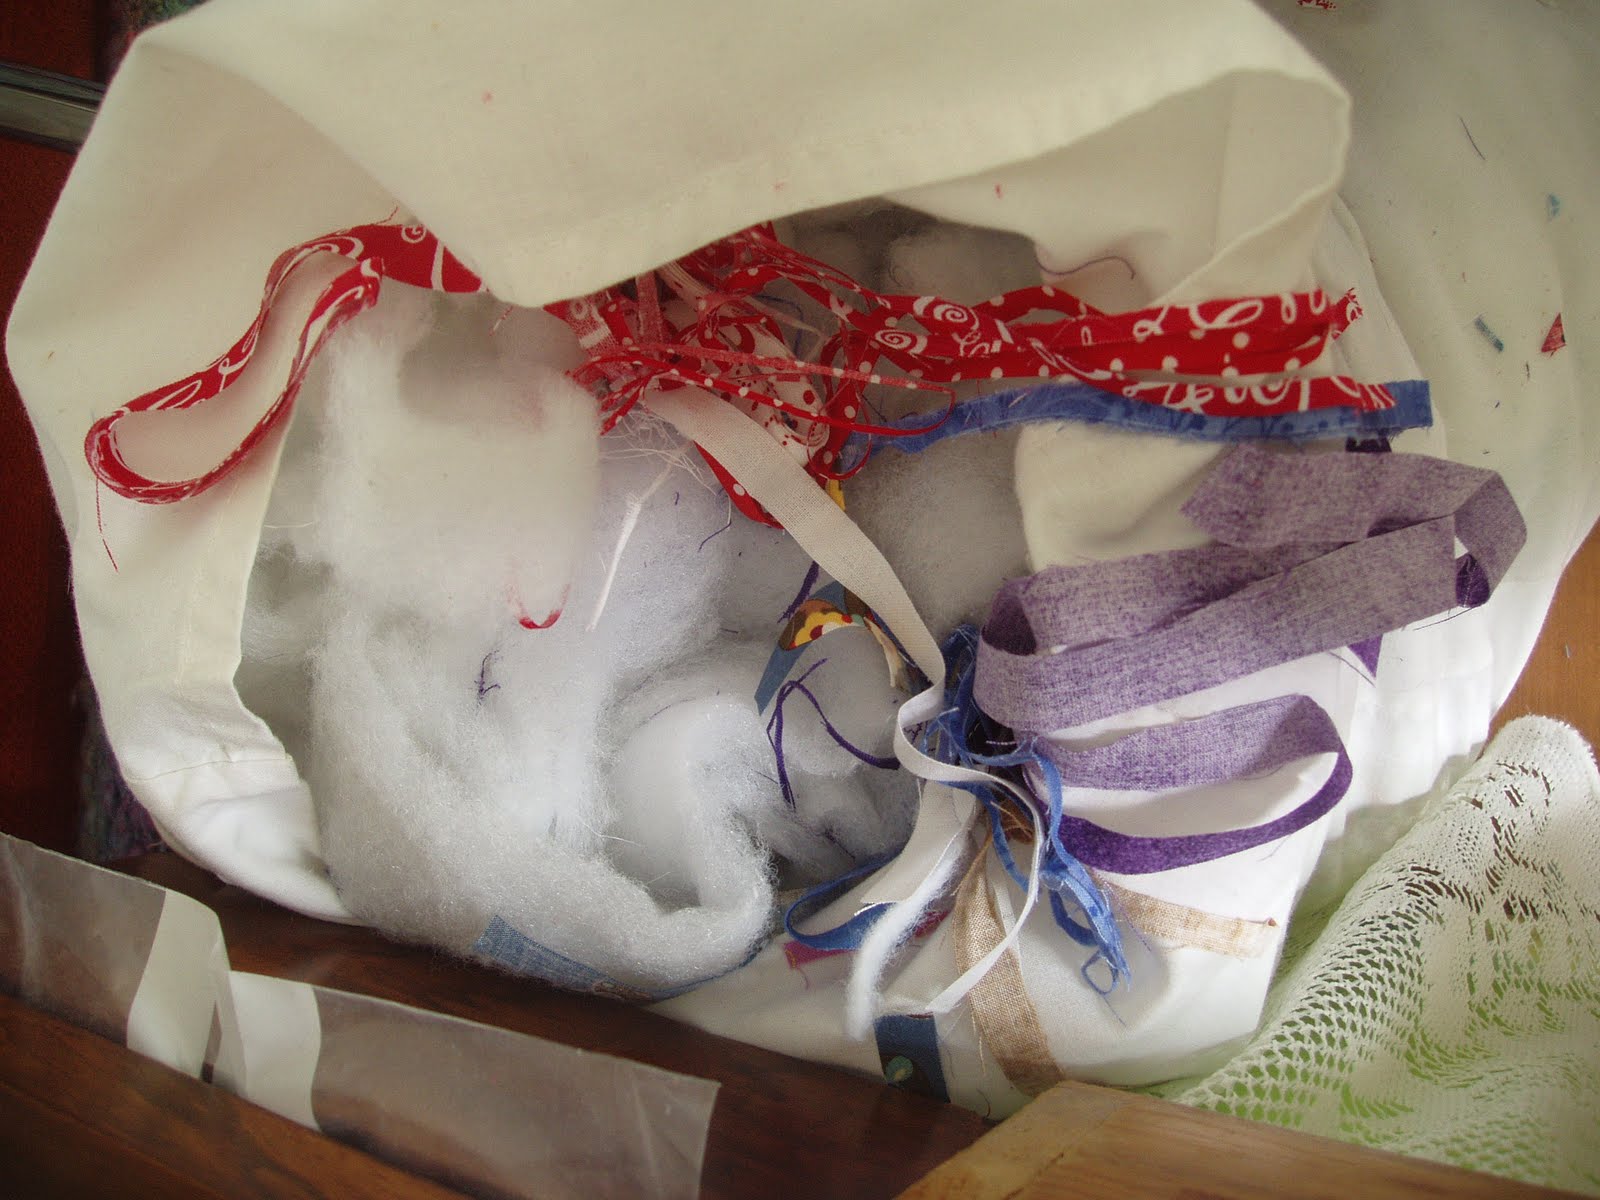
I have a pillow case full of fabric trimmings, ends of batting etc, and this is what I used for stuffing.
Then it was time for the sides. I was going to show you how I made the sides, but I got distracted by a trip to the nurse and a little glitch in the sewing proceedings. Anyway, the sides were made from stiff interfacing, covered both sides with wadding. Using some more crumb blocks, and a piece of fabric from my stash, I made a cover for it. The bottom was machine basted closed.
It was this seam that was pinned to the base, and then the fun began. Lots of pins, lots of fabric bulk, and machine stitching can be dangerous. I manoeuvred everything into place, and surely but slowly, stitched around the whole thing twice.
Once turned the right way, the seam is hidden inside, and I was left with a cosy bed.

Just a small glitch, the dog didn't really fit inside. Then I realised, the basket has sides that taper out, to make it easier for him to get in. This had straight sides so he didn't really fit.
I wasn't too disappointed. It would mean making another one, a bigger one, but it would mean the cats could have a bed again.
However,

someone was determined he was going to sleep in it, so I think today, I shall be making some modifications to see if I can make it an easier fit.
8 comments:
LOL! After all that work! Anyone would think you were desperate for something to do, going to all that effort to make beds for your pets!
I'm not surprised to read your comment about my vase of flowers patchwork. It does indeed look like it was based on a painting.
If you would like a sample of that layout grid to play with, email me and I'll post you a bit :-)
He obviously appreciated what you had done and thought it was worth the effort of squeezing into it.
Someone looks very cute in his new bed. My friend has a dog we refer to as someone. As in someone was in the garbage, someone dug up the rose bush, someone chewed the rug, etc.
Wow! I can't believe you made a dog bed! It really came out great! And now that you know what you're doing, a bigger one ought to go much easier. He looks so cute laying on top of this one! LOL
It is a cute design and it is very nice that the dog is trying to sleep in it, but ..... what a shame he did not fit in. I am sure it was an awfully lot of work!
that dog knows a good thing when he sees it!!
He looks adorable stuffed in that bed. Nicely done!
He'd have been really churlish not to give it a go. That's a very spectacular dog (cat) bed. You're very clever and your pets are very lucky.
Post a Comment