Showing posts with label white work. Show all posts

Wednesday, 26 September 2012

Bits and Pieces

Last week was definitely one of "those weeks" in our house.  It was a week of anticipation and expectation which, combined with a general feeling of being under the weather, wasn't conducive to much productivity.  What I did try, ended up going wrong, so I was undoing much of what I did.
 
In the end, it was worth it.  On Saturday, myself and Number 1 son were on the train down to Bristol to pick up a car!  You can't believe how much difference it makes to be mobile again after four and a half years!  Monday was spent ferrying the boys to and from college.  After working out it took up three hours of the day, they are back to getting the bus, there is a limit to this taxi service!
 
Anyway, now that's settled, I can get back to a routine.  First, here is the round up of the few bits and pieces that did get done.
Another crumb block to add to the collection,

four more granny blocks for my blanket,

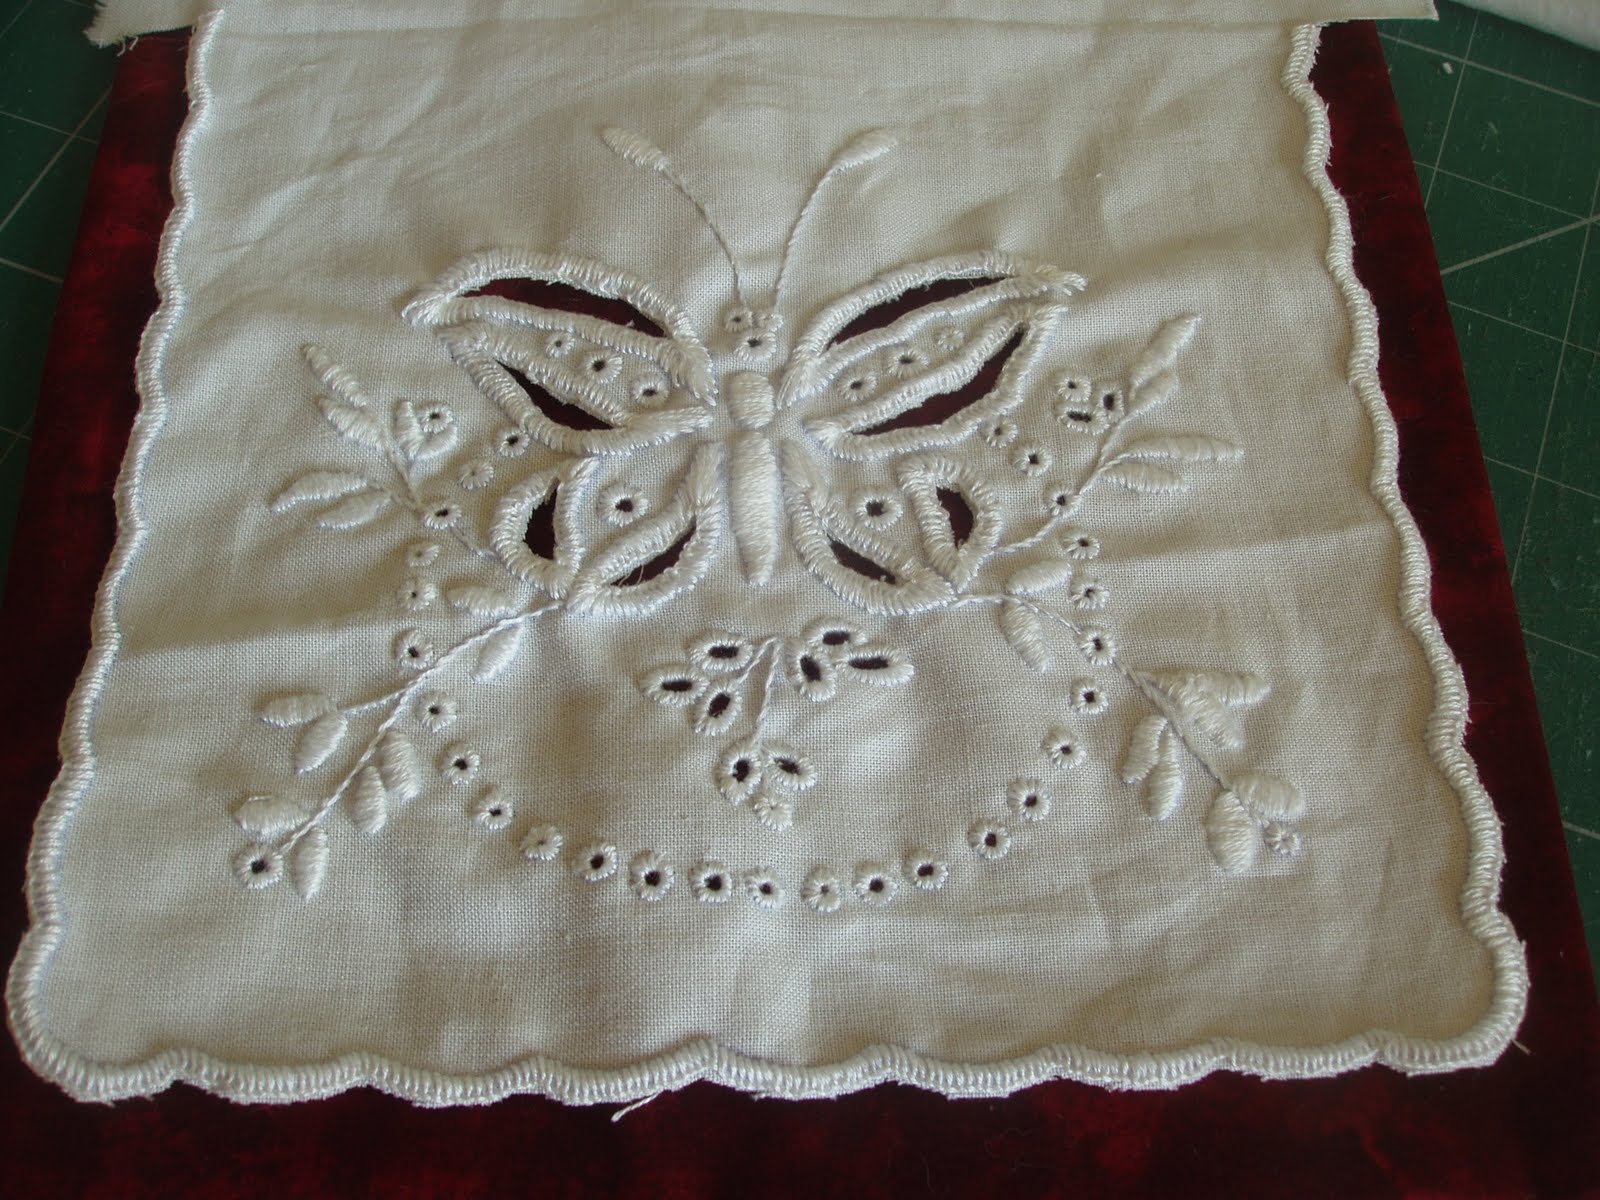
and the white work is mounted onto a canvas.  I like the texture of this canvas, it has a linen look to it.
 
All being well, the brain will be back in gear this week, and I can catch up on a few more loose ends.

Sunday, 16 October 2011

End of Embroider, Embellish, Create


I can honestly say, illness aside, the last seven weeks have been the most enjoyable for some time.  I have learned so much and achieved something I didn't think possible, all thanks to a good teacher.
This is the cloth as a whole.  The backing arrived while I was in bed Thursday, but I finally was able to spend the time to put it together, with the final embellishments yesterday.  I certainly hadn't intended it to be this big when I started.

I put a row of puffs along the bottom edge


You need to rotate this clockwise in you mind, blogger won't play properly this morning.  This is along the bottom edge, with more puffs going up the side and a small cluster of knots on the right

There's another puff alongside the muslin "bump"

This is the right edge, a row of prairie points.  They only go along this section, not top to bottom

On the right side, just three points, and three more puffs along the top section
 And now some of my favourite bits
The heavily embellished hanky

The cut work section

Again this should be rotated clockwise.  I love the applique and the little "pies"

More pockets with my special things


 Hidden delights
And the embellished "bump" with lots of loose muslin which I hope will get more raggedy with age.

This has been an exciting journey, and although I shall be pleased to catch up on some other things, I will definitely do some more of this.  A very big thank you to Karen for the opportunity, and I'd recommend any of her classes.  In fact, I'm doing her next one, Buttons and More, and now this is finished and everyone has stopped being sick, I've got work to catch up on.

Saturday, 9 July 2011

Handkerchief Pocket

It's amazing how finishing a piece changes it from a flimsy bit of embroidered fabric, into something of substance.

The white work embroidery has now had a front attached and been lined.  I also attached some interfacing on the flap to protect the stitching and to make it more stable.
The result, is a pocket that can be used. 

I shall now give it a gentle wash to take out the transfer lines, and shall look forward to trying this technique again.

Wednesday, 6 July 2011

Whitework and Cutouts

Over the years, I've seen many embroidered pieces with fabric cut out.  Although, I found it beautiful, I was always too frightened to try it, I didn't have the confidence that the whole piece wouldn't just fall apart.

Last year, I had a go at hardanger, so when I saw this project using embroidery incorporating cut outs, I thought it was time to give it a go.

I was well in my comfort zone for the satin stitch bodies, leaves and antennae, but soon it was onto cutting the fabric.
 First up, were the little holes.  These were my favourites.  First a line of running stitches go around where the hole is to be, cut a hole, and then use over cast stitch to finish the edging.
The larger holes on the butterfly wing were worked using the same principle, but used blanket stitch edging rather than over cast stitch. The fabric in this case is cut away after the blanket stitch is worked. I need a little more practise on the corners but it's worked.

The scalloped edge is done in blanket stitch, then the fabric is cut close to the stitching.

As a first attempt, I am really happy with how this has turned out so I shall look forward to getting this finished into something useful

Tuesday, 17 May 2011

May Heart

I'm enjoying these hearts from Raspberry Rabbits, they are quick and relaxing to stitch.  As I've done this one so soon after it's release, I now have to wait four weeks for the next one.

In the meantime, I have a little white work project to keep me busy.  This will be the first time I've attempted cut outs, so I'm hoping it won't all fall apart.  So far so good, I've only done the satin stitch elements of the design.