Showing posts with label Extending Embellishment. Show all posts

Monday, 3 September 2012

Canvas

I have a few little embroidery pieces, and I've been wondering what to do with them, so I thought I'd see what they would look like mounted onto canvas.
It's done very simply, I've tied it on with a few tiny stitched in strategic places, and they've ended up being almost invisible.
 
It probably won't suite everything, but for this piece, I like it.

Tuesday, 17 April 2012

Progress

The embroidery on the "skirt" piece has been done.  Buttons have been attached, using the same method as shisha mirrors, and then turned into flowers with a bit of running stitch detail.  This is now being damp stretched before the next stage.
In the meantime, I did some machine embroidery on some scrim in preparation to make dangly bits.  All will become clear in due time.  This is waiting to be damp stretched, but I didn't have enough room on my board.

Pretty bows were next, these will be tied on for decoration, but where is for another day.

In preparation for a smocked piece, I've printed a vintage transfer to some silk and stitching has begun.  Hopefully, more progress will be made today.

Sunday, 15 April 2012

WIP

Work has started on the next piece for the Extending Embellishment class.  For this, I've taken a large piece of silk and have begun working from the top.
Cotton tape has been added and stitched on, with bits of scrim lace trapped underneath. 

The tape is for gathering the silk, but that won't happen until all the embellishment has been completed.

I then made some cutout circles between the tape, backed with a sheer silk printed handkerchief.

Now there's more stitching to do at the top, and then on the bottom piece, but first, it needs a good damp stretching to see how it all looks.  Hopefully, I can work on it some more this afternoon.

Saturday, 7 April 2012

Extending Embellishment

In between the quilting and other sewing, I haven't forgotten about my Extending Embellishment class and am slowly working my way through the assignments.
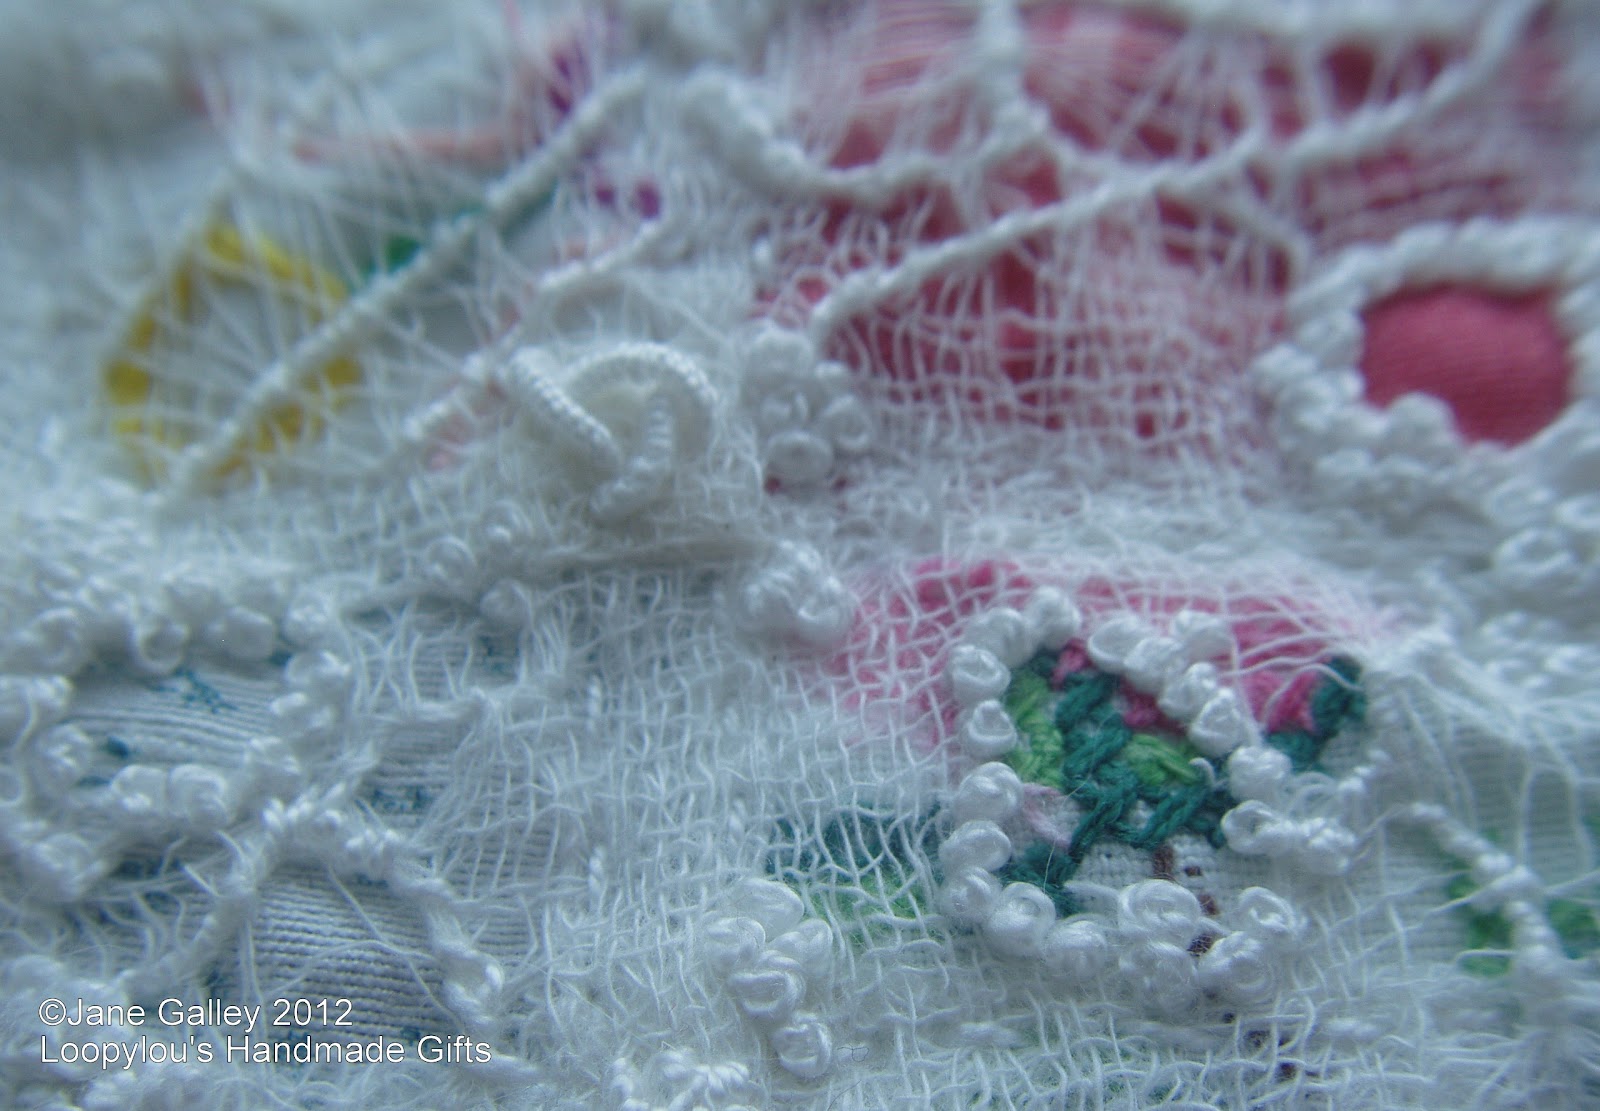
This piece was to do cutouts and needleweaving.  Behind the cutouts, I've used vintage embroidery, FME silk paper, and scrim.  Needleweaving has been used to connect cutouts, and to form a "basket" over a cutout.  Web stitches, bullion and french knots have then been used to fill the space.  Chain stitch has also ben used around a couple of the circles.

My next piece has been prepared, but I'm waiting for a delivery of thread to be able to continue.

Monday, 26 March 2012

Adding Paper

The whole purpose of this embroidery course, is to push the boundaries, so now, paper has been added to a piece of hand embroidered cloth.

This is silk paper that has been machine embroidered, and then embellished by hand.

The paper was carefully cut out around the machine embroidered flowers and then very gently stitched to the cloth.  To do that. I've used a mixture of french knots, blanket stitch, bullion knots and blanket stitch lace.

Sunday, 25 March 2012

Shisha Mirrors

The next stage was adding shisha mirrors to our embroidery
This technique works just as well with buttons.

Once the buttons and mirrors were applied, I heavily embellished the area with hand embroidery.  I really do like the way it seems to grow out of the cloth.

I have lots of buttons collected over the years, I may think of a way to incorporate them into a piece of stitching.

Saturday, 24 March 2012

Playing with Scrim

This is a technique that needs a little more practise, and some more scrim!  Warp threads were removed, then stitched on the machine to form "lace".   It's quite interesting to see the different ways it pulls together, and the different patterns that form, so I'm looking forward to trying this again.
This next piece is adding a few elements together.  The lace at the top is attached with a strip of french knots.  Behind the scrim is a vintage transfer on silk.  

Top and bottom, the scrim has been needle woven, and I think this is one of my favourite techniques from this class. I love the effect it gives.  The bottom piece of scrim has nothing behind it, so the full effect can be seen. The lace in the middle is joined with bullion knots and the scrim at the bottom has been finished with buttonhole stitch and buttonhole lace.

Friday, 23 March 2012

It's taken a while...

... but I'm finally getting into the embroidery course and having fun.  I'm beginning to catch up with all that has been going on, and hopefully won't be too far behind when the next lesson is released.
When we started playing with paper, I made a concertina fan out of a sheet of silk paper.  I've cut this in half and added some hand embroidery.  There are woven bars to keep the sides open and on the inside I've added splashes of colour with web stitches and french knots.  To keep the fan in shape, I've used needle woven bars front and back.

Remember the scrim pockets?  I've now taken these a stage further, applying the scrim over fabric and vintage embroidery.

The scrim has then been embellished with hand embroidery.

Small holes were cut in the scrim and then fixed with french knots, and there are lots of wrapped threads to form a lace effect.  This allows the fabric and embroidery to appear from below.

 
The finished piece is quite small, and hopefully will become part of a bigger piece.

The next piece is prepared and I'm hoping for another happy stitching day today.

Thursday, 22 March 2012

A little Cloud

The lovely thing about the latest embroidery course, is trying new things and putting them together.  The first element of the next piece was this cloud.
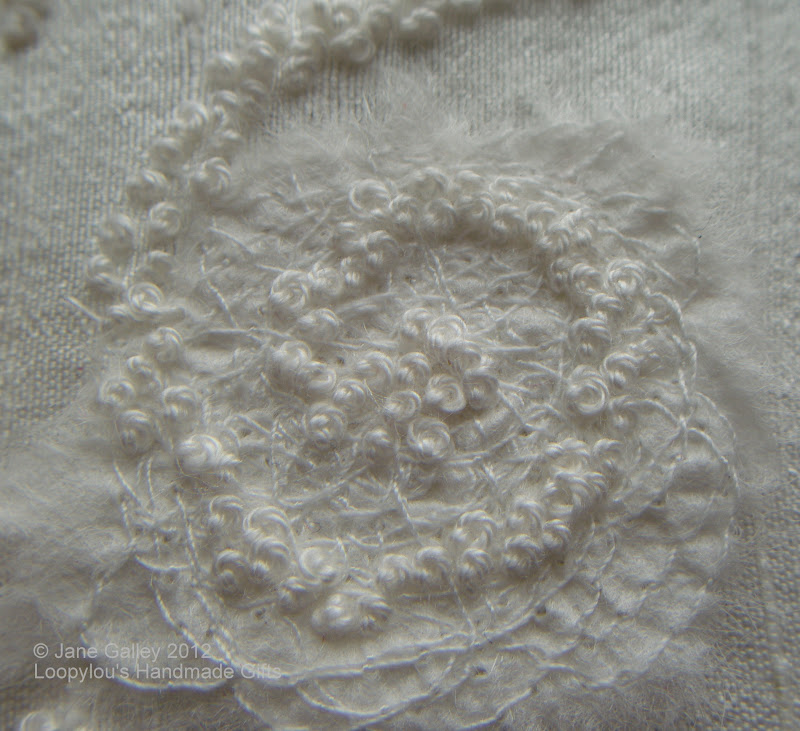
This is silk paper that has been machine embroidered and then further embellished with a buttonhole border, buttonhole lace along the bottom, and lots of  bullion knots.

The second element was needle woven scrim,

and a vintage embroidery transfer on silk.

The final piece wouldn't be complete without rain drops.  This is silk paper with a shisha mirror.

Here it is, all complete.  A cloud, with it's life giving rain, to make the flowers grow.

Tuesday, 20 March 2012

Port Hole

After a little break, I am finally back to needle and thread, continuing on with the samples of stitched paper.  This sample is one of the holes that I'd machine stitched across the hole.
I cut out close to the stitching and secured it to some silk.  I then blanket stitched around the edge, and added some blanket stitch lace.  The backing lace was then cut away to leave the hole open.

I like being able to see the writing coming through, but on a stitched piece, I would use some embroidery as the backing.

When I stitch these samples into the book, I just pick a page at random.  I couldn't believe what was written on this page.


Tuesday, 13 March 2012

Silk scrim and silk paper samples

Once the fun with the sewing machine was over, it was time to use the samples in some embroidery, to embellish them and get some ideas for a larger piece.
I used the over stitched piece of paper and added it to some dupion silk.  The spiral of french knots attaches the paper to the silk.

I do like the different textures of the the knots and paper together.

I don't have a lot of vintage embroidery to use, but I do have a collection of these patterns.  The earliest I've found dated is 1933.  They would have belonged to my great grandmother and grandmother, passed down through my mum.

I used one of the transfers to stitch this.  I left one incomplete, as lots of linen has been passed down only partially stitched.

To it I added some pin tucked paper.  Holes were cut in it to form windows to the stitching underneath.  Some windows have needle weaving over them.  Attached to the bottom of the paper, is some machine stitched scrim.

This can be lifted to reveal the stitching below.

After some feedback from Karen, these ideas will be developed further.  I think I should write some notes, my brain is mulling over new ideas and forgetting some of the old ones before I've had a chance to try them.

Sunday, 11 March 2012

Silk Paper

After playing with scrim, it was now time to play with silk paper.
It was fun trying out the different stitches on the paper, and to see how resilient it is.

This was a sheet, just testing out the different stitches I have on my machine


I like the edging this makes, just over stitching in circles backwards and forwards along a line, then pulling the excess paper away.

This was just to see how much I could stitch on the paper before it began to disintigrate.  The paper didn't tear, but it did stretch.  I think that a piece like this would be great for further hand embellishment

Stitching over a hole

Pin tucks and concertinas, again waiting for hand embellishment

Grids

Straight lines

Flowers

Circles, and experimenting with holes
This stitch would be great for an edge, one of my favourites.

Now I'm looking forward to combining the scrim and paper with other fabric and hand stitching.  Hopefully. a few more stitched samples will follow.

Wednesday, 7 March 2012

A New Class

Karen Ruane is doing another class, Extending Embellishment, and I just had to sign up for it.  The first class I did, was such a delight, I couldn't let this one pass me by.  The first lesson was Monday, and like any teacher, she has given us homework.

This class is using various surfaces for embroidery, the first being scrim.  Our task was to machine stitch onto it to help stabilise it.  We have to experiment with different stitches.
The first I did, is just straight lines.  I used my 1/4" foot, but used the outside of the foot as a guide so ended up with a wider gap.


The second, I formed a grid.  I did three rows of stitching close together, then left a wider gap


I've also got a piece with large pin tucks formed into a grid.

I have more samples to do, but they have to wait, the 1/4" foot is needed.